
Related
Full Setup Guide: Lenovo Yoga 9 Pro with Regolith Linux (Ubuntu 23.10 + i3)
A comprehensive setup guide for setting up a Lenovo Yoga 9 Pro with Ubuntu 23.10 and Regolith i3, including resolution and external monitors...
Popular topics
04 min reading in—LinuxSetup GuideTools
A hands-on guide on turning the Titan 2 Elite into a real pocket dev machine with Termux, tmux, opencode, a local LLM and a full Alpine Linux VM under QEMU.
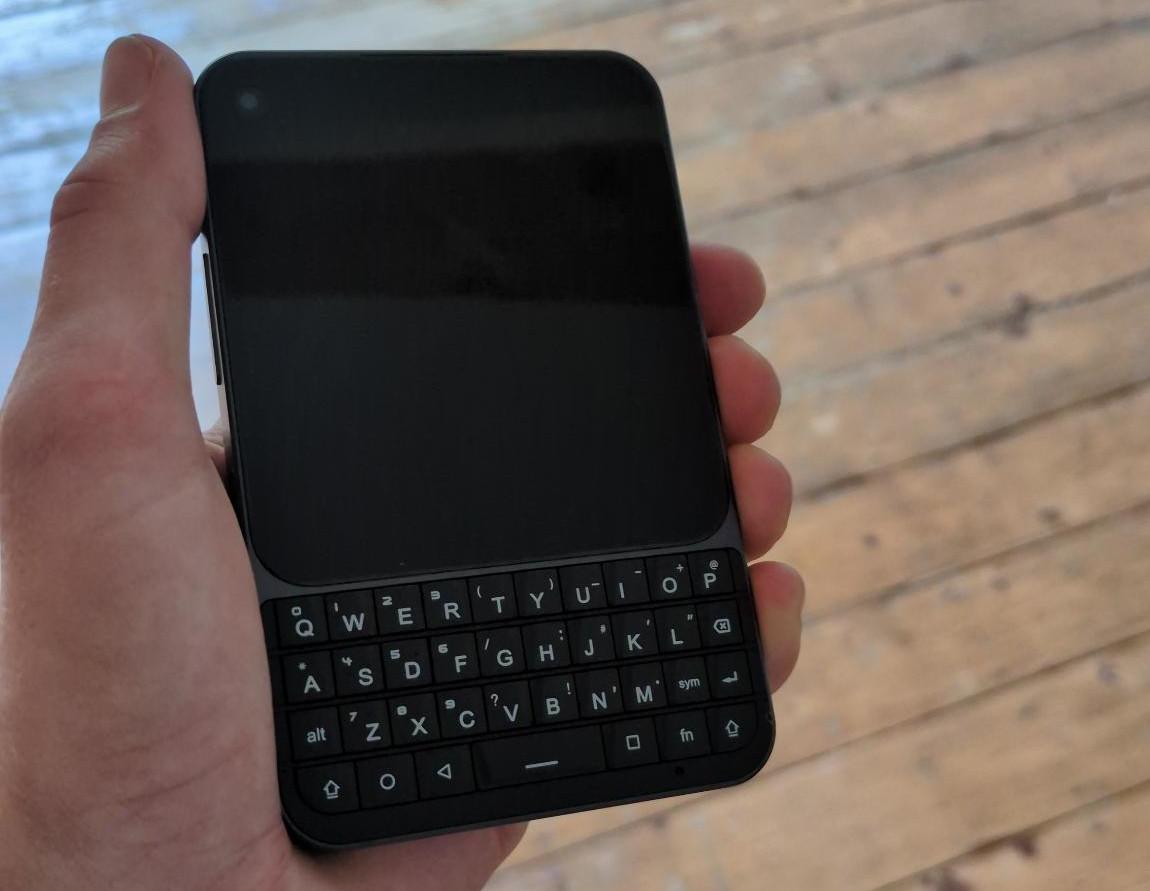
I hope this doubles as a written guide on how to get Termux up and running on the Titan 2 Elite; this is the exact setup I run daily as a pocket terminal / dev machine.
Get tmux (and Termux itself) from F-Droid.
The version in the Play Store will not work for you; it is out of date and the required mirrors cannot be set up on it.
For anything resembling real terminal work you need a keyboard that gives you quick access to special characters. I use Unknown Keyboard with this custom symbols layout:
<?xml version="1.0" encoding="utf-8"?>
<keyboard name="Symbols (1-Row)" script="latin">
<row>
<key c="(" ne=")" nw="<" se=">"/>
<key c="[" ne="]" nw="{" se="}"/>
<key c="=" n="+" s="-" e="*" w="/" nw="%" ne="^"/>
<key c="\\" n="|" w="~" se="`"/>
<key c="." n="," e="!" w="\?" ne=":" nw=";"/>
<key c=""" n="'" e="_" w="-"/>
<key c="\@" n="\#" e="&" s="%"/>
<key c="$" ne="€" se="£" sw="¥"/>
</row>
</keyboard>
Also, for my optimal usage, I apply the following key mappings:
alt -> shiftleft shift -> althome -> ctrlright shift -> tabspace -> homeNow you should be able to manage and navigate everything similar to a regular keyboard. Note that the Unknown Keyboard will still be required for some special chars!
termux-change-repo
Then update and prepare the packages:
pkg update
pkg upgrade
termux-setup-storage
pkg install git
pkg install gh
pkg install neovim
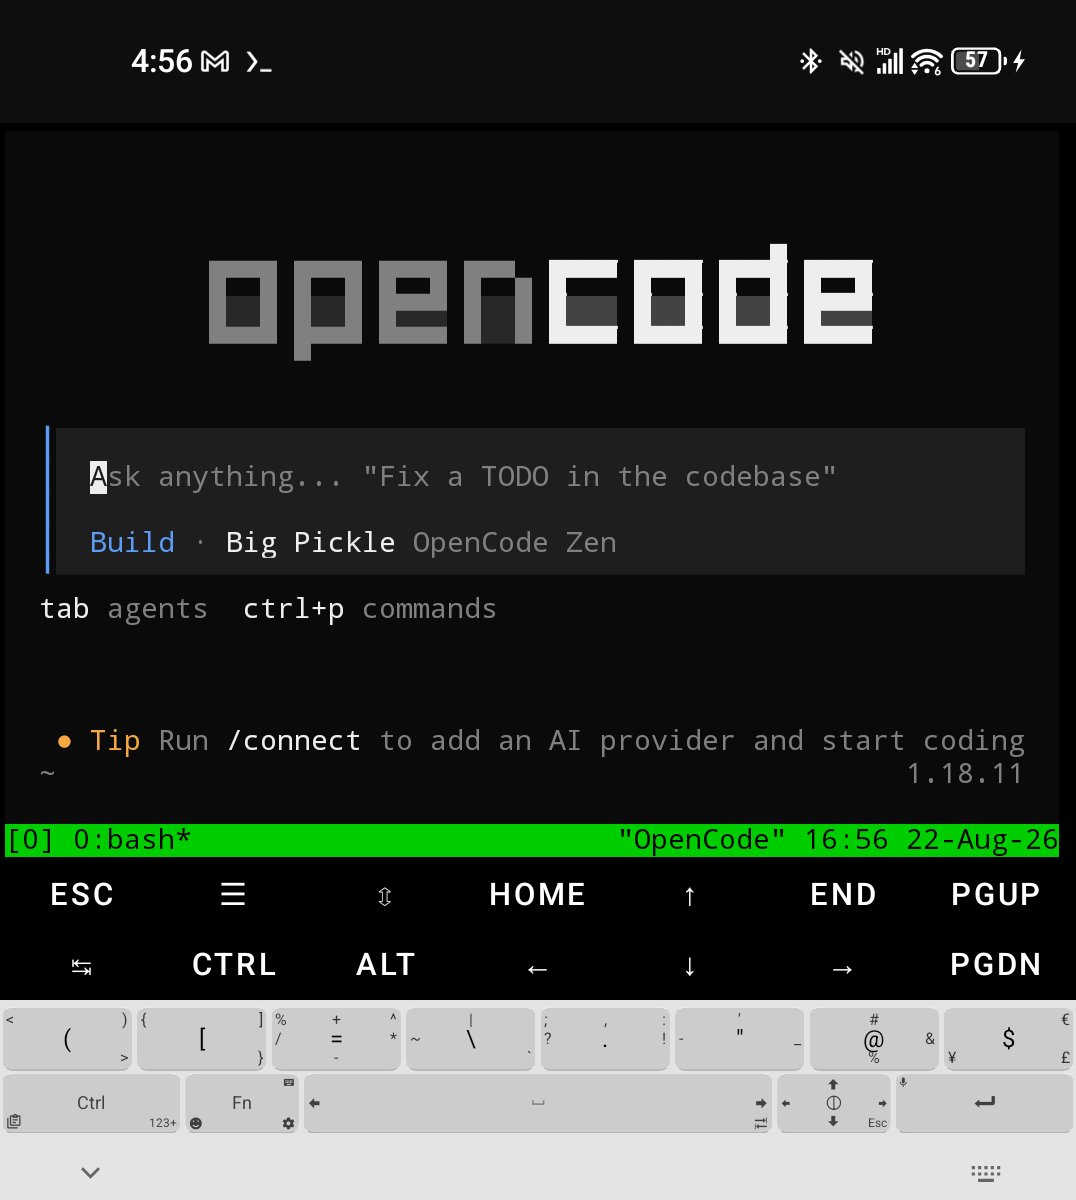
I run opencode on the phone via the Termux port from Hope2333/opencode-termux.
Grab an opencode binary from the release page, then:
apt install -y glibc-repo
apt update
apt install -y glibc openssl-glibc

dpkg -i /path/to/opencode_<version>_aarch64.deb
If you want to configure it for local llm usage, check out my article on usability with local llms.
Multiple options here; for now the simplest one: download Ollama from the Google Play Store.
Termux ships QEMU packages, so we can run a full Linux VM right on the phone.
Since Android won't expose KVM on an unrooted device, the guest runs fully emulated as x86_64 through TCG (-machine q35,accel=tcg);
slower than native virtualization, but completely functional and headless (-nographic), which is all I need inside tmux.
I scripted the whole flow and attached all scripts to this post; grab them straight into Termux:
for s in setup-host start-installer start-vm postinstall-alpine kill-vm reset-vm; do
  wget "https://github.com/tbscode/tims-blog-posts/raw/main/assets/titan_setup/scripts/$s.sh"
done
chmod +x *.sh
Each script is also linked inline below, so you can read exactly what it does before running it.
setup-host.shOne script does all host preparation: setup-host.sh
It will:
qemu-system-x86_64, qemu-utils, wget)~/docker_sharedalpine.qcow2 disk image (if missing)alpine-virt-3.20.2-x86_64.iso (if missing)bash setup-host.sh
Now boot the installer with start-installer.sh;
it boots the ISO from the qcow2 disk, forwards 2222 -> 22 and 8080 to the host, and exposes ~/docker_shared to the guest via a 9p hostshare mount:
./start-installer.sh
Then inside the VM:
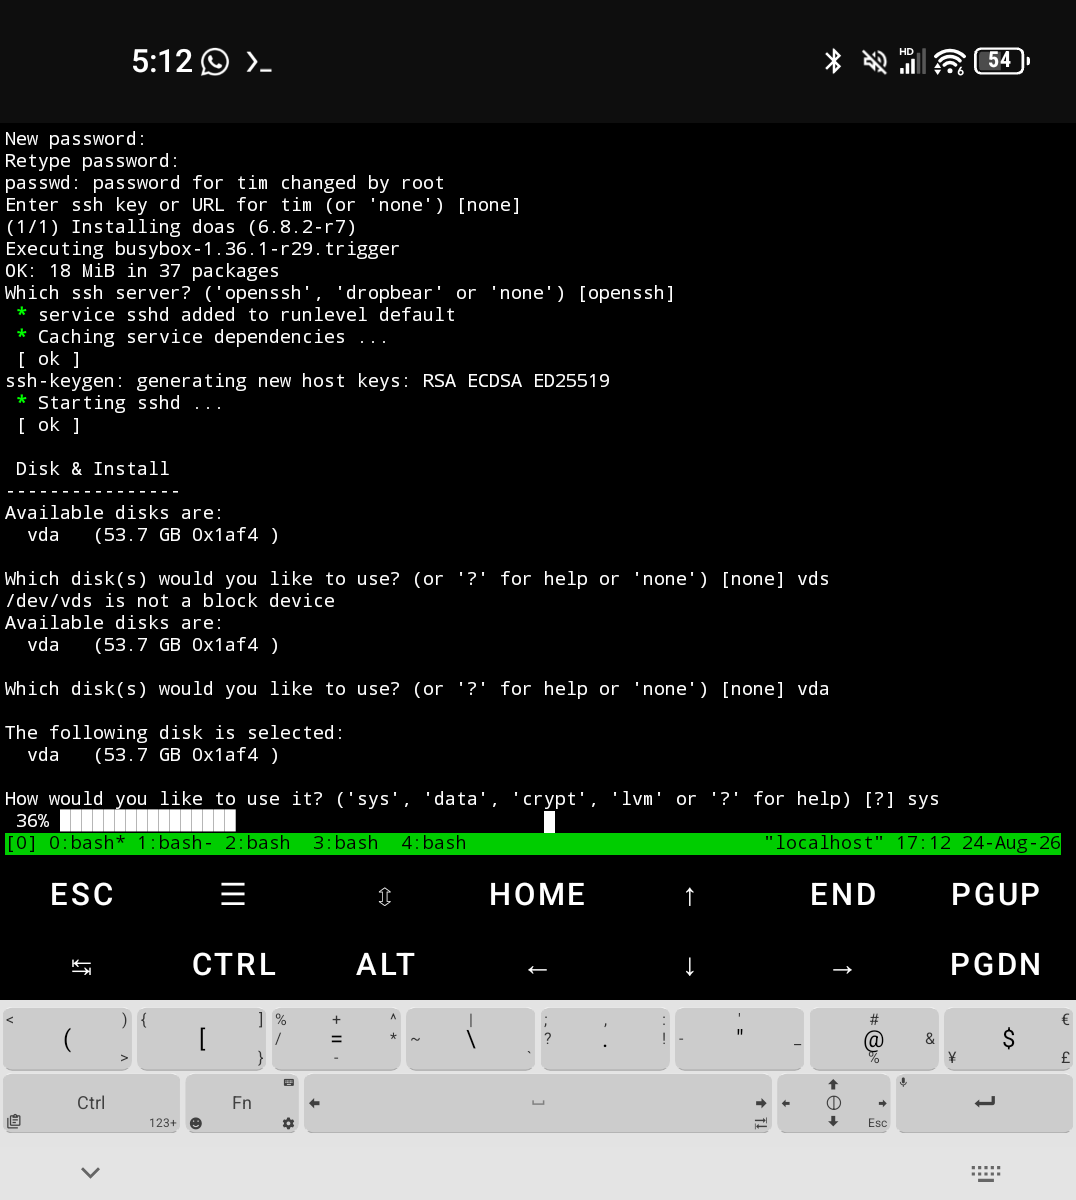
root (no default password)setup-alpinevda partition and sys as the installation typepoweroff once the install completesHere's the disk & install step; you can also see the extra-keys row and my custom symbols keyboard in action, which make navigating and typing the installer prompts feel almost like a real terminal session:
Boot the installed system with start-vm.sh (same flags, minus the ISO), log in as root, and run postinstall-alpine.sh inside the guest
(it is already visible under /mnt/shared once you mount the share, or just paste its contents):
sh /mnt/shared/postinstall-alpine.sh
The script hardens and provisions the base system in one pass:
community repository and installs sudo, docker, docker-cli-compose, shadowdocker group and grants full sudo access/mnt/shared, owned by your userVerify everything works from inside the VM:
su - <your-user>
docker run --rm hello-world   # docker works without root
sudo apk update               # sudo works
touch /mnt/shared/test.txt    # file appears on the host in ~/docker_shared
That's it: a persistent Alpine with Docker, reachable from the host via SSH on port 2222, sharing files through VirtFS.
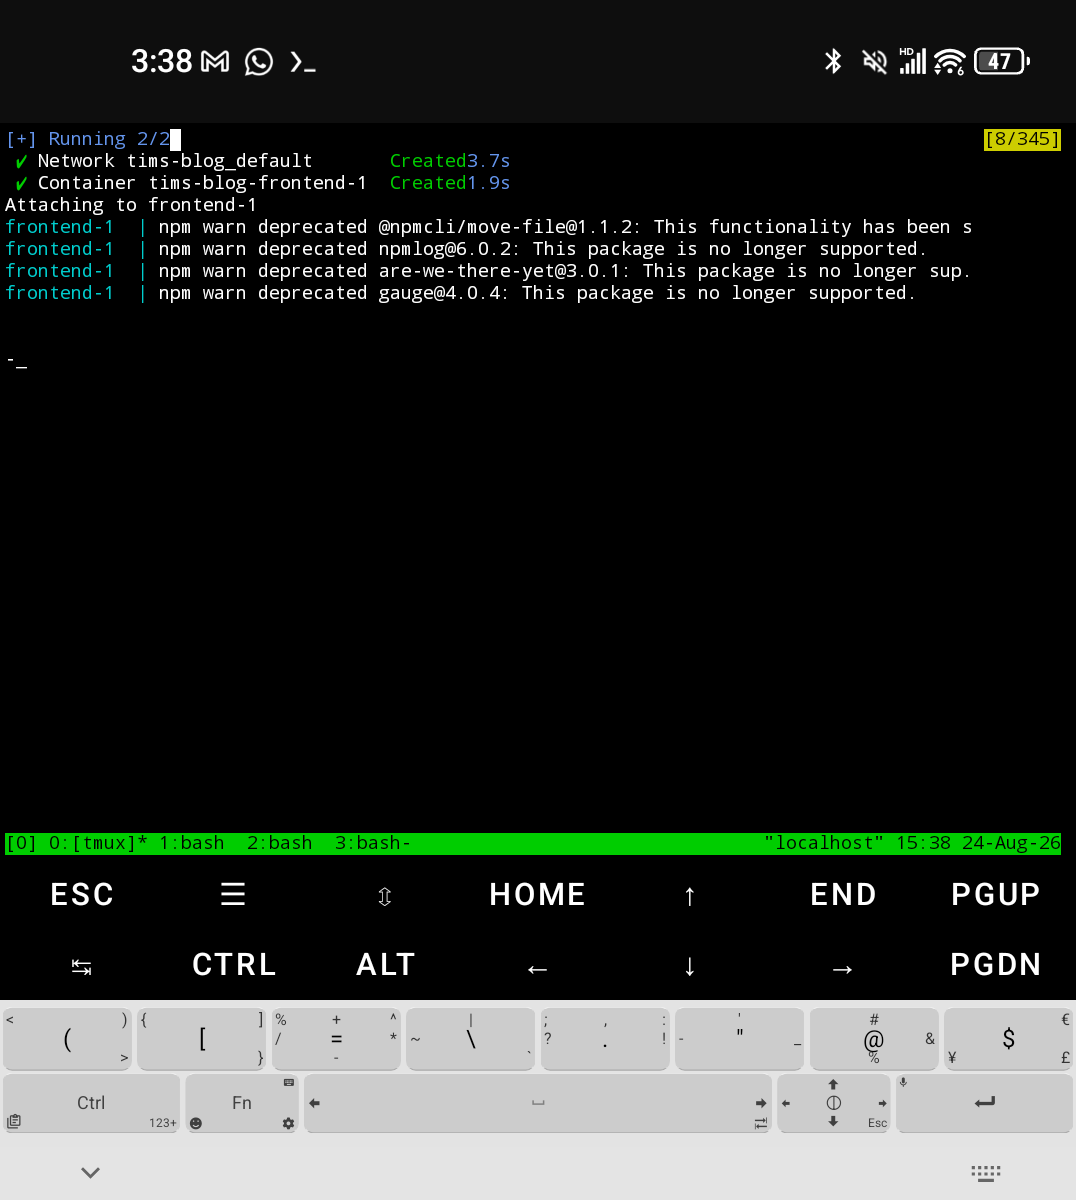
And it's genuinely usable for real work; here I'm building this very blog through the shared folder inside the VM:
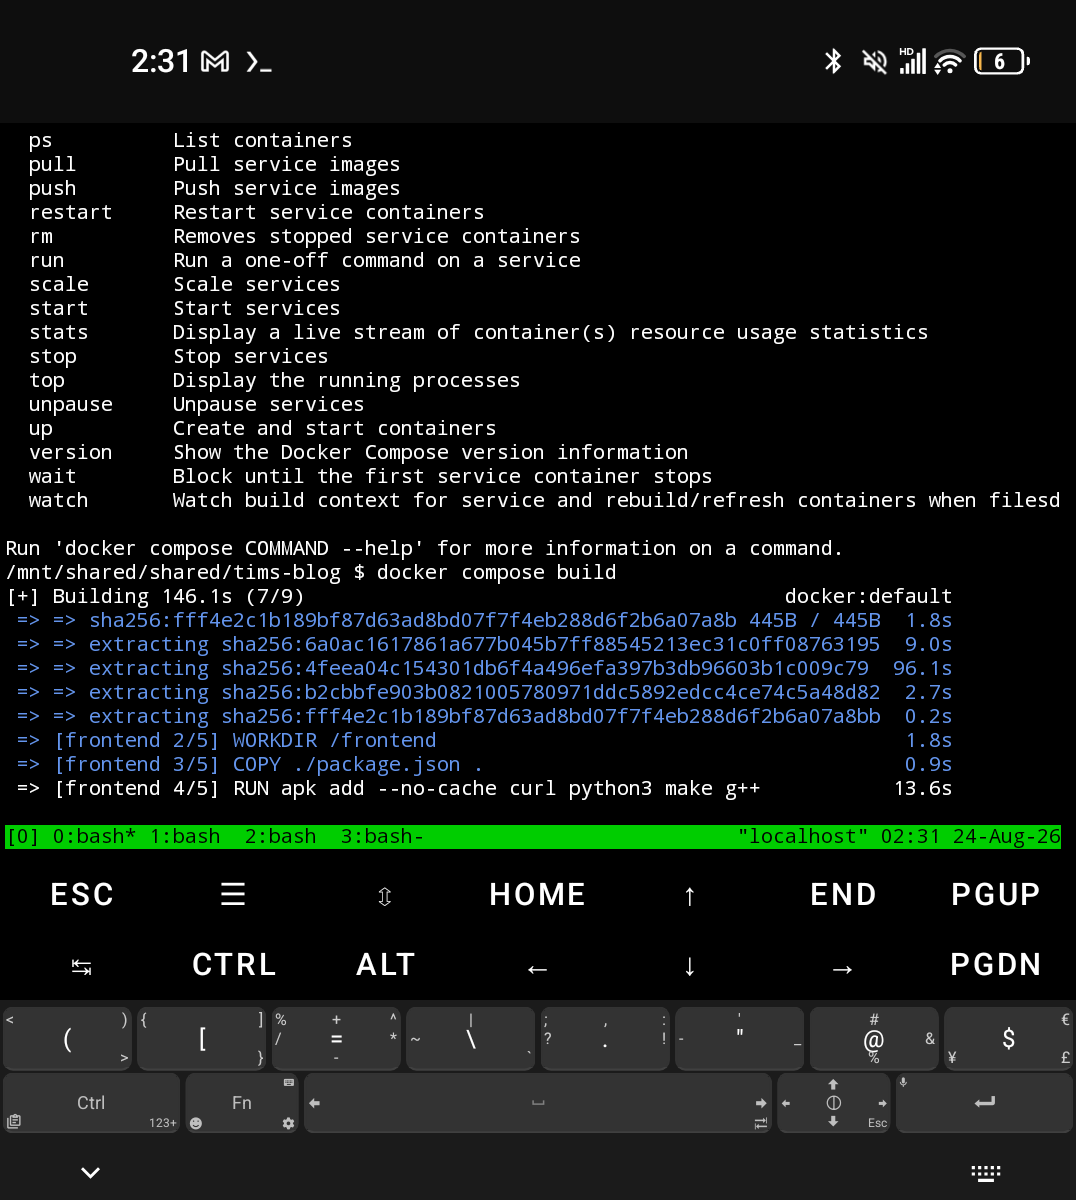
kill-vm.sh — stops any running QEMU VM process (graceful, then forced)reset-vm.sh — wipes and recreates the qcow2 disk when you want a clean slateThat's it for now; the phone happily sits in my pocket running tmux, neovim, opencode, a local model — and now a full Alpine VM with Docker, this blog's dev server included:
Related
A comprehensive setup guide for setting up a Lenovo Yoga 9 Pro with Ubuntu 23.10 and Regolith i3, including resolution and external monitors...
Related
A collection of strategies to quickly produce pdf's from markdown files
Related
How to use `ffmpeg` to funnel screen or video data as video input.